OBIB Installation
OSCAR EMR instances connect to the CDX message distribution system via the Oscar Bidirectional Interoperability Bus (OBIB). An OBIB can support many OSCAR instances. Therefore, an OSP only needs to operate one OBIB.
classDiagram
  OSCAR1 --> OBIB
  OSCAR2 --> OBIB
  OSCAR3 --> OBIB
  OSCAR4 --> OBIB
    OSCARn --> OBIB
  OBIB --> CDX
    CDX <--> otherHIS1
    CDX <--> otherHIS2
    CDX <--> otherHIS3
    CDX <--> otherHIS4
    CDX <--> otherHIS5
The server side of OBIB is implemented based on the interoperability engine Mirth Connect. Mirth Connect channels transform messages received from the OSCAR to CDA messages and send those messages to CDX through Web Services.
The OBIB depends on a series of software platforms, namely Mirth Connect, Java, MySQL/MariaDB, OpenSSL and NGINX. Thus, to simplify the OBIB installation, a production-ready Vagrant VM was created along with administrative scripts to manage the clinics within OBIB.
Installing the VM for OBIB
The following steps create a Vagrant VM with OBIB ready for production.
Uncompress the obib-<version-number>.zip file and enter in the extracted folder obib-<version-number>/.
The deployment file can be generated with mvn deploy, which will generate obib-<version-number>.zip in the /OBIB/target/ sub-directory.
For development it is recommended to start the Vagrant VM directly from the source folder, e.g., <dev-workspace>/OBIB/mirthchannels/OBIB_vm. Thus, any change to the scripts will be immediately available for the VM.
Change the configurations in Vagrantfile and mirth_connect.sh as needed. Most settings are within mirth_connect.sh only, except for the VM IP address which is located in both files.
# VM IP address in Vagrantfile:
config.vm.network "private_network", ip: "192.168.100.101"

# Mirth Connect (VM) IP address in mirth_connect.sh:
SERVER_IP='192.168.100.101'
OBIB uses a digital certificate as to sign the server and clients certificates, which are used for SSL authentication. It is recommended to generate a new self-signed digital certificate for production, or use a certificate provided by a Certificate Authority (CA). To generate a new self-signed certificate for OBIB use the script gen_obib_certs.sh. If a CA-signed certificate is used, both private and public key must be copied to the subdirectory /configs/ssl.
Start the new Vagrant VM with the environment installed and configured execute the following command:
$ vagrant up
Then, restart the VM to ensure all services are starting at boot time:
$ vagrant reload
Deploy the OBIB Channels (automatically)
To deploy a new OBIB or redeploy an update of OBIB, execute the deploy provision from the folder where Vagrant VM is installed in, using the following command:
$ vagrant provision --provision-with deploy
*All operations should display Response code: 2XX in the console. In case of error, all deployment operation returns are stored in the folder /home/vagrant/output in the VM.
If the installations is successful, Mirth Connect and OBIB is available from the same IP configured previously. For example, the OBIB Connector address will be available at https://192.168.100.101 and Mirth Connector Administration at https://192.168.100.101:8443 if the VM IP address is 192.168.100.101.
The same command is used for updating the Mirth channels.
Deploy the OBIB Channels (manually)
This deployment option is executed using the Mirth Connect Administrator, available at https://www.nextgen.com/products-and-services/NextGen-Connect-Integration-Engine-Downloads. Also, the Mirth Connect Administrator is required for the development and maintenance of OBIB Channels, since the xmls generated by Mirth Connect are complex to maintain with a text editor.
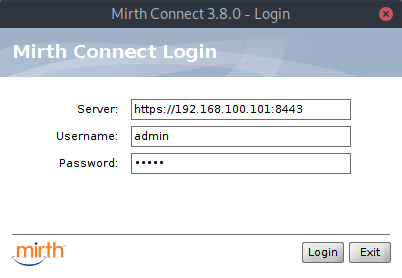
Login into the Mirth Connect Administrator
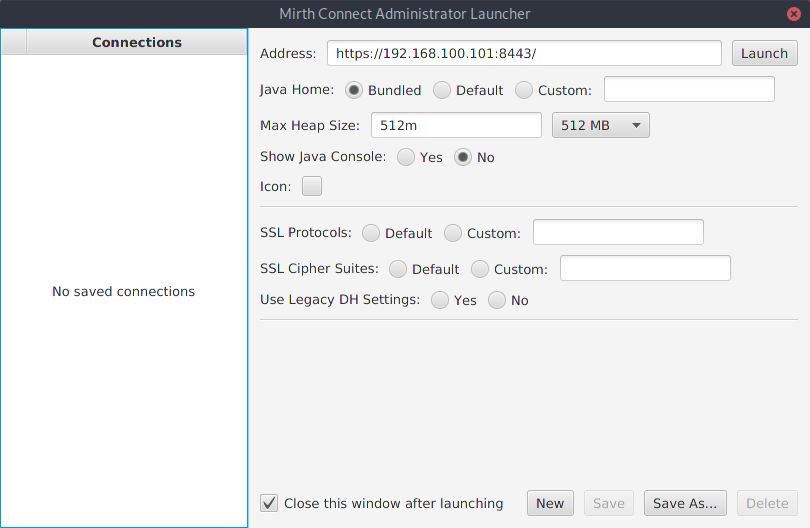
The address and credentials to access Mirth Connect using the Administrator are defined in the mirth_connect.sh file, used during the Vagrant VM installation.
The two necessary files to deploy OBIB are: the OBIB_global_scripts.xml, which contains the Vagrant Global Scripts and OBIB_channel_group.xml, which contains the OBIB Channels and Template Codes.
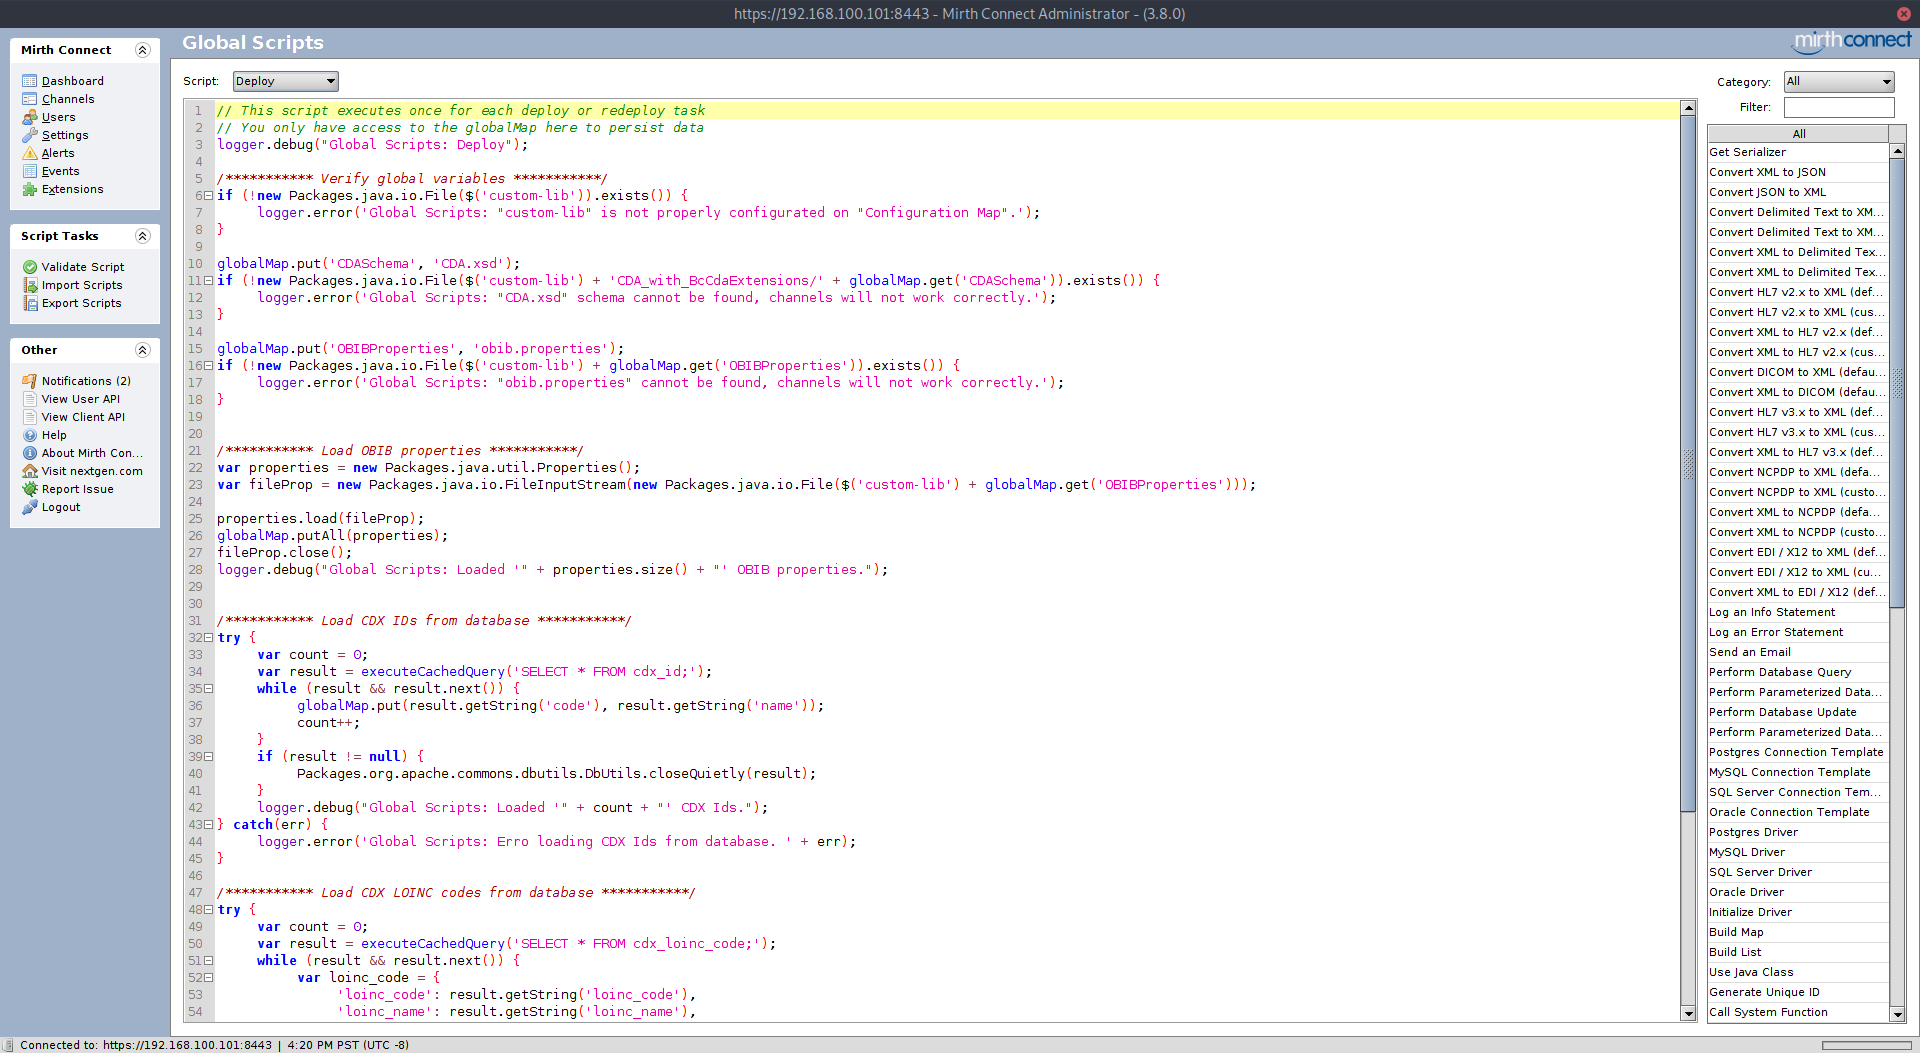
To import the Vagrant Global Scripts do:
- Click on Channels in Mirth Connect menus.
- Click on Edit Global Scripts in Channel Tasks menus.
- Click on Import Scripts in Script Tasks menus.
- Select the OBIB_global_scripts.xml file from /mirthchannels/OBIB_vm/configs/obib/ folder.
- Click on Save Scripts in Script Tasks menus.
To import the OBIB Channes and Template Codes do:
- Click on Channels in Mirth Connect menus.
- Click on Import Group in Group Tasks menu.
- Select the OBIB_channel_group.xml file from /mirthchannels/OBIB_vm/configs/obib/ folder.
- Answer Yes to import the Code Template Libraries at same time.
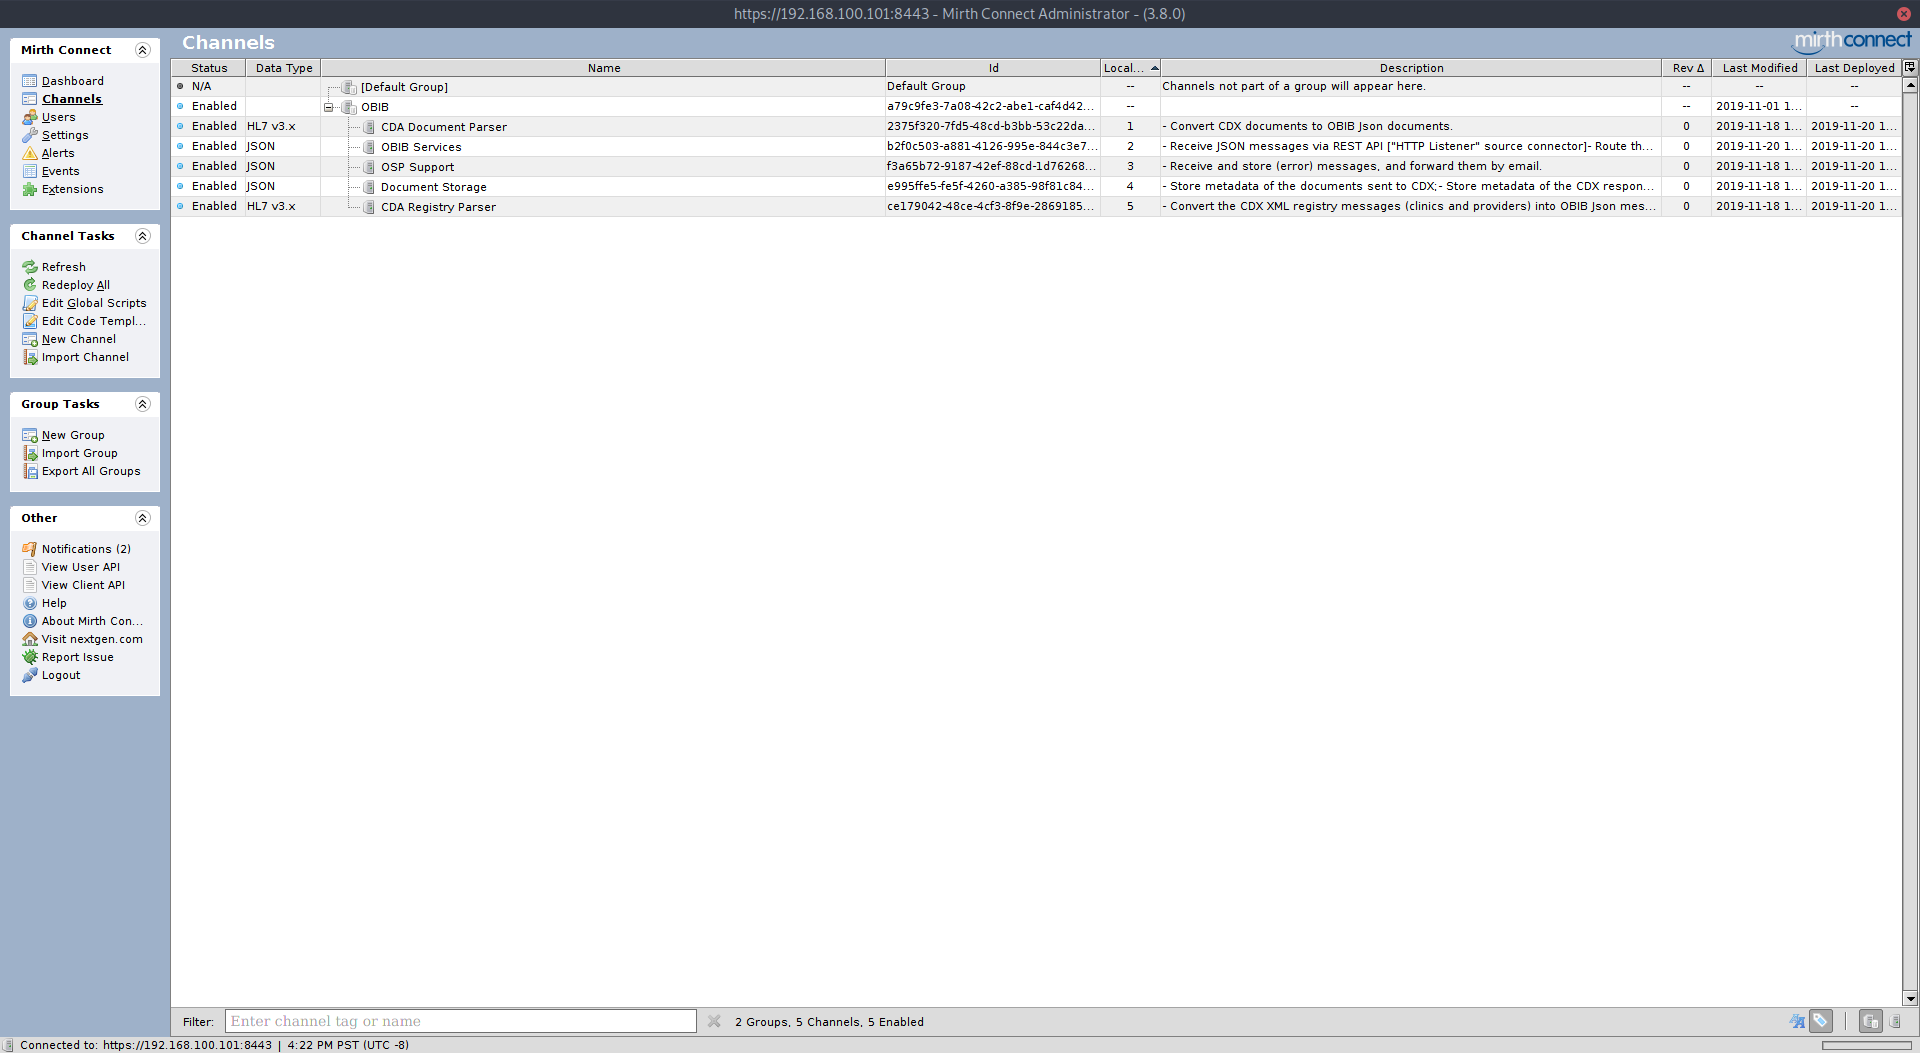
After the previous steps, OBIB is ready to deploy within Mirht Connect. This is done by selecting the OBIB group on main screen and clickin on Redeploy all in the Channel Tasks menus.